Building Your Own Outdoor Brick Oven for Perfect Pizza
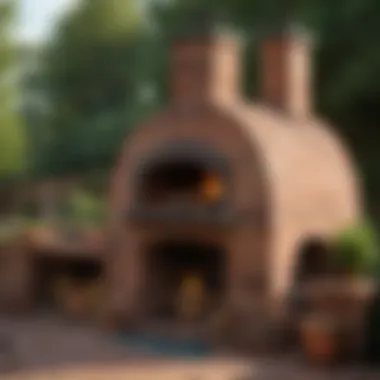
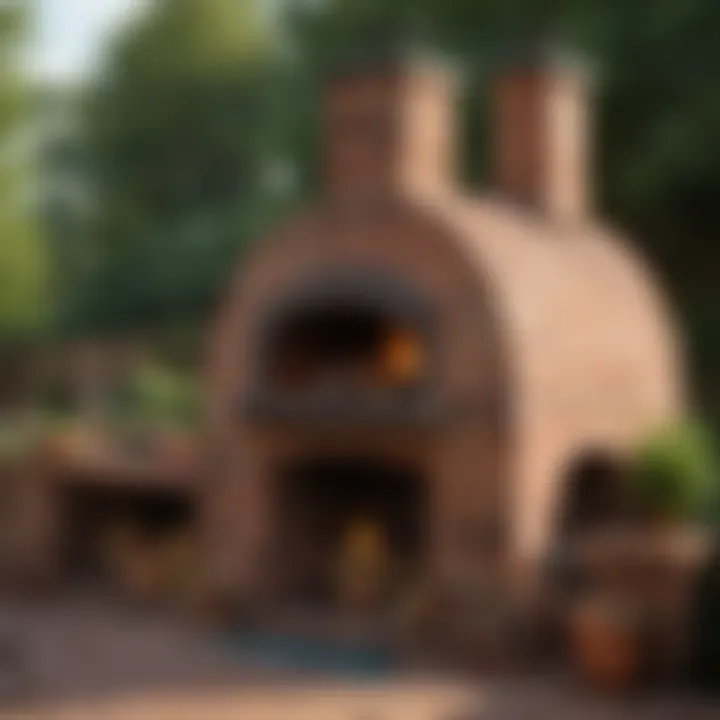
Pizza Recipe Intro
Creating an outdoor brick oven marks a significant point in the culinary journey of any pizza lover. However, understanding how to maximize this experience begins with a solid grasp of the pizza-making process itself. This section presents a delightful pizza recipe that perfectly captures the essence of outdoor cooking. The goal is to introduce not just the act of cooking, but the art of making pizza that reflects both tradition and innovation.
Overview of the pizza recipe being featured
The featured pizza recipe focuses on a classic Margherita style, known for its simplicity yet profound flavor. This type of pizza allows the qualities of fresh ingredients to shine through, making it an ideal candidate for outdoor brick ovens. The combination of dough, sauce, mozzarella, and basil creates a dish that appeals to the senses.
Key ingredients needed
To create this pizza, you will need the following key ingredients:
- Pizza dough (homemade or pre-made)
- San Marzano tomatoes for the sauce
- Fresh mozzarella cheese, preferably buffalo mozzarella
- Fresh basil leaves
- Extra virgin olive oil
- Salt
These ingredients are essential for achieving that authentic flavor profile.
Inspirations behind the recipe
The inspiration for the Margherita pizza lies in its historical roots. Named after Queen Margherita of Savoy in the late 19th century, its colors represent the Italian flag. Using high-quality ingredients matters significantly, as it reflects in the final taste. This pizza embodies simplicity — perfect for the outdoor setting and the communal spirit of sharing food with friends and family.
Ingredients and Preparation
Detailed list of all ingredients required
- 1 batch of pizza dough (about 500 grams)
- 1 can (400 grams) of San Marzano tomatoes
- 200 grams of fresh mozzarella cheese
- A handful of fresh basil leaves
- 2 tablespoons of extra virgin olive oil
- Salt to taste
Step-by-step instructions for preparing the pizza dough and sauce
- Prepare the pizza dough: If making from scratch, mix flour, water, yeast, and salt. Knead until smooth and let it rise until doubled in size.
- Make the sauce: Crush the San Marzano tomatoes and season with salt to taste.
- Preheat your outdoor oven: Get your oven to around 250°C (482°F) so it is ready to cook your pizza.
Tips for preparing and handling the ingredients
- Use room temperature ingredients for the dough to rise effectively.
- For the sauce, try to keep it simple. Avoid adding too many spices that might overwhelm the fresh tomato taste.
- Slice the mozzarella just before using it to prevent excess moisture.
Assembly and Baking
Instructions on assembling the pizza with toppings
- Shape the dough: On a floured surface, stretch the dough into a 12-inch round.
- Spread the sauce: Using the back of a spoon, evenly distribute the tomato sauce over the base, leaving a small border.
- Add the cheese and basil: Tear mozzarella into small pieces and scatter them over the sauce, followed by fresh basil leaves.
Tips for achieving the perfect bake - oven temperature, baking time, etc.
- Ensure that your oven is at the correct temperature before placing the pizza inside. Typically, the perfect time for baking is around 8-10 minutes.
- Rotate the pizza halfway through cooking for even browning.
Variations and customization options for the recipe
Explore different toppings based on personal preferences. Consider adding ingredients such as:
- Sliced prosciutto
- Grilled vegetables
- Arugula after baking for freshness
Serving Suggestions and Pairings
Recommendations for serving the pizza - garnishes, additional toppings, sauces
Serve immediately after pulling the pizza out of the oven. Drizzle a bit of extra virgin olive oil on top for added flavor and freshness.
Pairing suggestions - beverages, side dishes to complement the pizza
Pair your Margherita pizza with a crisp white wine or a light beer. A simple arugula salad with lemon vinaigrette can balance the richness of the cheese.
Cook's Notes and Tips
Additional tips and tricks for enhancing the flavor and texture of the pizza
- For a smokier flavor, consider adding wood chips to the oven.
- If the dough is too sticky, dust it with flour, but avoid adding too much.
Troubleshooting common issues during the preparation and baking process
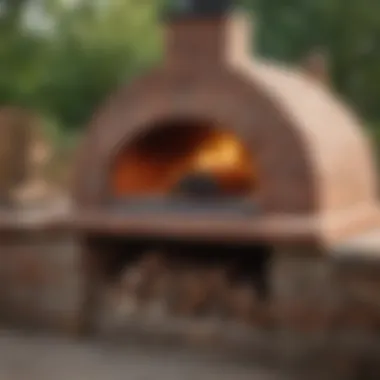
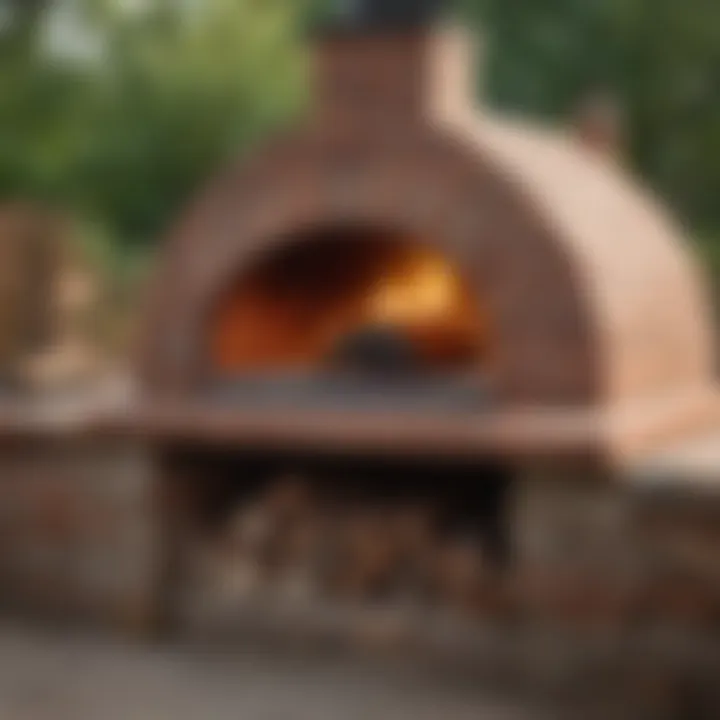
If the pizza becomes soggy, ensure your oven is hot enough and avoid overloading with sauce. A properly preheated oven is crucial in achieving that golden, crispy crust.
Remember, building the outdoor brick oven is just as important as mastering the pizza itself. Each process enhances your culinary skills, bringing family and friends together around a shared passion.
Understanding Outdoor Brick Ovens
Outdoor brick ovens have gained popularity due to their ability to create an authentic cooking experience unmatched by traditional kitchen ovens. These ovens not only provide the means to cook various dishes, including pizzas, but they also serve as a centerpiece in outdoor dining and social gatherings. Understanding these ovens involves recognizing their historical significance, design benefits, and practical applications.
History of Brick Ovens
Brick ovens have a long legacy, tracing back thousands of years. The earliest versions were used by ancient civilizations, including the Romans and Greeks, for baking bread. Over time, these ovens evolved to serve multiple culinary purposes. In Italy, the traditional wood-fired pizza oven became a cultural emblem, recognized worldwide for its role in pizza-making. Today, many people choose to build their own outdoor brick ovens to connect with this deep-rooted tradition and enjoy the versatile cooking it offers.
Purpose and Benefits
The primary purpose of outdoor brick ovens is to provide a unique cooking environment that enhances flavor. The use of bricks allows the oven to retain heat effectively, enabling high-temperature cooking ideal for pizzas. Outdoor brick ovens also foster a communal atmosphere, making them perfect for gatherings where friends and family can enjoy homemade meals together.
Moreover, there are benefits beyond just cooking. These ovens can increase the value of your property and create an inviting outdoor space.
- Flavor enhancement: The intense heat creates a crispy crust with smoky undertones.
- Versatility: Besides pizza, you can roast meats, bake bread, and even make desserts.
- Social connection: Outdoor ovens invite gatherings, allowing for a shared cooking experience.
"Building an outdoor brick oven can transform your cooking and entertaining experience, bringing people together around food in a way that few things can."
To conclude, understanding outdoor brick ovens encompasses their history, purpose, and benefits, setting the stage for designing and building your own. The next sections will elaborate on how to choose the site, shapes, materials, and construction techniques necessary for creating your perfect outdoor oven.
Design Considerations
Design considerations play a crucial role in the construction of an outdoor brick oven. They influence not only the functionality of the oven but also its aesthetic appeal and usability. A thoughtful approach to design can enhance cooking experiences, making the outdoor oven a focal point in your backyard. By keeping some key elements in mind, you can ensure that your oven serves its purpose effectively and harmoniously fits into its surroundings.
Selecting the Location
Choosing the right location for your outdoor brick oven is essential. The spot should be both functional and convenient. Consider factors such as accessibility, proximity to your kitchen, and safety from fire hazards. Ideally, the oven should be placed near seating areas to create a social cooking space. Also, keep in mind the wind direction. Placing the oven where smoke can easily dissipate is vital for comfort and air quality, avoiding issues with smoke blowing toward seating areas. Solid ground is necessary as well, ensuring stability and preventing sinking or shifting.
Size and Shape Options
The size and shape of the oven must reflect your cooking style and available space. There are various dimensions available, ranging from compact models to larger installations. A larger oven can accommodate multiple pizzas at once or entire meals, while a smaller one can suit more casual home cooking. As for shape, traditional domed ovens provide great heat distribution, while rectangular designs may be more efficient for specific cooking methods. Consider who will use the oven and the kinds of dishes you plan to create. Having a clear plan here helps maximize both functionality and space utilization.
Ventilation and Smoke Management
Proper ventilation is critical in any outdoor cooking setup. Without it, smoke can accumulate, which can sour the cooking experience. Effective smoke management not only protects the cook from smoke inhalation but also keeps the surrounding area pleasant for guests. Plan your flue and chimney placement carefully. An effective venting system will help control smoke release while optimizing heat retention. Pay attention to the size of the flue as well; it should be proportionate to the oven. A well-ventilated oven enables consistent temperatures, which is crucial for achieving that perfect crust on your pizza.
Building an outdoor brick oven requires careful consideration of design elements. This ensures that the oven is both functional and aesthetically pleasing, making it a valuable addition to your outdoor living space.
Materials Needed
Constructing a brick oven requires careful thought towards the materials needed. Each component plays a crucial role in the oven’s efficiency and longevity. Choosing the appropriate materials helps ensure optimal cooking conditions and withstands the test of time. An effective oven not only enhances the cooking experience but also can be a valued addition to outdoor spaces.
Choosing the Right Bricks
When it comes to bricks, not all are equal. It is vital to select bricks that can handle extreme temperatures. Firebricks are commonly suggested for this purpose. They have high alumina content which allows them to absorb and retain heat effectively. Regular bricks may crack or break under high heat, therefore, using firebricks avoides potential issues later. Another option worth considering is refractory bricks. These are specially crafted for furnace and kiln applications. Their durability and ability to maintain thermal mass is advantageous in an outdoor oven.
Furthermore, the color of bricks can also influence the aesthetic appeal of the oven. Natural clay bricks bring an earthy tone, while more innovative options allow for vibrant designs.
Insulation Materials
Proper insulation is essential to regulate temperature. It prevents heat from escaping and ensures consistent cooking conditions. Materials like ceramic fiber blankets or fiberglass are popular choices. These materials possess excellent heat-retaining properties. Another viable approach is using perlite or vermiculite. These lightweight aggregates provide both insulation and a solid foundation for the oven.
Installing insulation must be precise. Initially, it is placed on the oven floor, and then layered around the dome. Leaving gaps might result in inefficient heating, so confirm everything fits together snugly.
Mortar and Adhesives
Mortar and adhesives are equally important in brick oven construction. They hold everything together and help in thermal expansion during firing. A high-temperature mortar is ideal for brick assembly. This type of mortar can withstand extremely high temperatures without cracking. In addition, refractory cement can also be used. It bonds the bricks securely and aids in maintaining high thermal conductivity.
The right adhesive can also play a crucial role in preventing smoke leaks. Ensure to check the product specifications to select the best for your needs.
Key Takeaway: Choosing quality materials is essential for building an effective outdoor brick oven. Carefully selected bricks, insulation, and additives will ensure durability and performance.
With attention to detail and quality in every aspect of materials used, the efficient cooking can be achieved in an outdoor brick oven.
Building Process
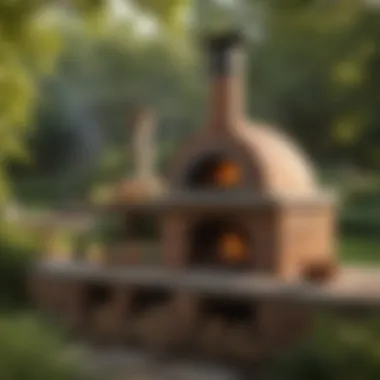

The building process of an outdoor brick oven is central to the overall endeavor of creating a functional and effective cooking apparatus. Each stage of construction is essential, as it affects the durability, efficiency, and performance of the oven. Proper execution of this process ensures a solid foundation for your cooking experiences, where the oven can handle high temperatures and provide excellent heat retention. A well-built oven also contributes to the aesthetic appeal of your outdoor space.
Creating a Foundation
The foundation of your brick oven is a critical first step in the build process. It establishes stability and ensures that the entire structure can support the weight of the bricks and the oven dome. A strong foundation must be level and built with materials that can withstand the heat generated during cooking.
- Location: Select a suitable spot that allows for good drainage and is away from flammable structures.
- Materials: Use concrete for the foundation. A thickness of at least 4 to 6 inches is ideal for durability.
- Footing: Dig a trench and pour a reinforced concrete footing. This footing must extend below the frost line in colder climates.
Constructing the Base
After the foundation is set, constructing the base is the next step. The base should elevate the oven to a comfortable cooking height and provide additional support. It also creates space for storage or preparing food.
- Brick Arrangement: Opt for firebricks or heat-resistant bricks for the base. Lay bricks in a square or rectangular shape that matches your oven's dimensions.
- Mortar Application: Apply high-temperature mortar to secure the bricks effectively. Ensure that the joints are tightly packed for enhanced insulation and structural integrity.
- Leveling: Continuously check the level as you build. Any inconsistency can lead to uneven cooking and heat distribution later.
Building the Oven Dome
Constructing the dome is perhaps the most important phase. The dome shapes the cooking environment and affects heat retention. A well-built dome allows for a uniform cooking temperature.
- Dome Shape: Traditional brick ovens employ a semi-circular dome shape. This design facilitates better heat circulation.
- Layering Stones: Start with the base layer of bricks, using a fire-resistant mortar. Gradually build upwards, allowing the dome to curve naturally. Follow an overlapping pattern for bricks to avoid gaps.
- Dome Height: Aim for a height of around 18 to 24 inches. This measurement is sufficient for optimal heat retention and dome stability.
Adding the Door and Flue
The final step in the building process involves adding the oven door and flue. These components are essential for controlling airflow and heat within the oven, as well as providing easy access for cooking and management of the fire.
- Door Frame: Construct a door frame using heat-resistant material. Consider a size of about 12 to 16 inches wide and tall to allow adequate access while retaining heat.
- Flue Placement: Install a flue directly above the cooking area to enable efficient smoke exit. This can be done by creating an arch that supports the flue.
- Insulation: Ensure the door and flue are insulated with appropriate materials to maintain internal temperatures and prevent heat loss.
Remember, each phase of the building process contributes to the overall functionality and longevity of your outdoor brick oven. A solid foundation, a well-constructed base, a perfectly shaped dome, and proper installation of the door and flue are essential for achieving the ultimate cooking experience.
In summary, the building process involves systematic steps that are foundational to developing a reliable outdoor brick oven. Diligence in these tasks will pave the way for future culinary successes.
Curing and Firing Techniques
Curing and firing techniques are essential stages in the process of building an outdoor brick oven. These processes ensure that the oven is ready for use and capable of reaching the high temperatures needed for perfect pizza and other dishes. Understanding how to properly cure the oven, conduct initial firings, and maintain optimal temperatures can significantly affect the performance and longevity of your brick oven.
Curing the Oven
Curing the oven is the crucial step that follows the construction stage. It involves gradually drying out the oven to prevent cracking and thermal shock. Without proper curing, the rapid expansion and contraction during heating can cause serious damage to the structure. The process usually takes about a week and requires using small fires.
To cure your brick oven:
- Start Small: Begin with small fires made from kindling and gradually increase the size over several days. This approach allows the bricks to heat slowly.
- Monitor Temperature: Keep an eye on how the material reacts to heat. If you notice any cracks or abnormalities, adjust the firing accordingly.
- Documentation: Keep notes on temperatures and times. This will help in future firings and in spotting potential issues early.
Curing establishes a good foundation for the oven's ability to retain heat efficiently, essential for high-temperature cooking.
Initial Firing Procedures
Once the curing process is complete, it’s time for the initial firing. This step is your first opportunity to use the oven and should be approached with care.
- Drying Out the Oven: Before using it to cook, the oven must be loaded with dry wood and kindling. Light a small fire to ensure that moisture is expelled from the interior.
- Gradual Heating: Aim to increase the temperature slowly to avoid stressing the bricks. This helps in further stabilizing the structure.
- Duration of Fire: Plan for the initial fire to last several hours, gradually letting the temperature rise.
This firing phase helps in setting the internal temperature of the oven. It allows the materials to adapt to the heat, preparing it for the demands of cooking.
Maintaining Optimal Temperature
Maintaining an optimal temperature in your brick oven is vital for consistent cooking results. Once your oven is seasoned and the temperatures are established, managing heat becomes easier but still requires attention.
- Fire Management: Use seasoned hardwoods, as they burn hotter and cleaner than softwoods. Add logs periodically to maintain the temperature without overwhelming the system.
- Temperature Checks: A laser thermometer can be useful to measure surface temperature. Regular checks ensure that your cooking surface is hot enough to achieve desirable results.
- Ash Removal: Routinely clear out excess ash and debris. This promotes efficient airflow, leading to better combustion and heat retention.
By understanding these techniques, you can ensure your brick oven operates effectively for many seasons. Proper curing and firing are fundamental to achieving the true potential of an outdoor brick oven, allowing you to enjoy delicious homemade pizza and other culinary delights.
Cooking in Your Brick Oven
Cooking in a brick oven represents not just a method of food preparation, but also a cultural and culinary experience. The quintessential experience of utilizing a wood-fired brick oven enhances flavors and creates a unique atmosphere. This section will explore techniques and recipes suited for your outdoor brick oven, specifically focusing on wood-fired pizza and a variety of other culinary delights.
Wood-Fired Pizza Techniques
The hallmark of any outdoor brick oven is its ability to create exceptional wood-fired pizza. When cooking pizza in this environment, several factors come into play which can significantly affect the final product.
- Temperature Control: A wood-fired oven can reach temperatures of 800°F (427°C) or higher. This rapid cooking process caramelizes toppings and crust, leading to a uniquely crisp texture.
- Choosing the Right Wood: The type of wood affects both the flavor of the food and the temperature it generates. Hardwoods like oak, maple, and hickory are ideal. They ignite quickly and burn hotter but ensure they are well-seasoned to avoid excess smoke.
- Dough Preparation: Using a high-hydration dough can yield a lighter, airier crust. Ingredients like high-quality flour, water, yeast, and salt are essentials.
- Topping Selection: Minimalism is key. Use fresh ingredients in moderation. Classic combinations like Margherita with tomato sauce, mozzarella, and basil work exceptionally well.
- Consider allowing the dough to ferment longer for improved flavor, at least 24 hours in the refrigerator is recommended.
Cooking time is crucial. A well-made pizza can be ready in about 90 seconds due to the intense heat. It's essential to rotate the pizza halfway through to ensure even cooking.
Tip: Always preheat the oven for at least an hour before cooking. This helps maintain the ideal temperature throughout the cooking process.
Exploring Other Recipes
While pizza may be the star, the versatility of a brick oven extends well beyond this single dish. Various recipes can be executed thanks to the high heat and unique cooking atmosphere.
- Bread Baking: The intense heat and steam produced in a brick oven lead to a crusty exterior and soft interior, perfect for loaves of bread. Sourdough or focaccia particularly benefit from the characteristics of wood-fired cooking.
- Roasting Vegetables and Meats: Utilizing cast-iron cookware, you can roast vegetables and meats, allowing them to absorb that subtle flavor from the wood smoke. Root vegetables pair beautifully roasted to caramelized perfection.
- Baking Desserts: From fruit tarts to cobblers, the hot environment allows for delightful desserts. Fruit crisps can be particularly rewarding, as the high temperatures help caramelize fruits beautifully.
- Frittatas and Quiches: The even heat distribution in a brick oven makes it ideal for baking egg dishes. Crafting a vegetable-packed frittata can bring a delightful flavor and texture when baked in this setting.
In summary, cooking in your brick oven not only elevates your pizza-making craft but also expands your culinary repertoire. Mastering the techniques specific to this cooking method can lead to a richer and more enjoyable outdoor cooking experience.
Maintenance and Care
Maintaining an outdoor brick oven is crucial to extending its life and ensuring optimal performance. Regular upkeep not only enhances the cooking experience but also elevates the quality of food prepared. Failure to adhere to maintenance routines can lead to structural damage or ineffective heating, ultimately detracting from your culinary endeavors. Understanding proper care techniques ensures that every pizza you bake possesses the authentic flavor and texture that a brick oven guarantees.
Regular Cleaning Routines
Establishing a cleaning routine is essential for any outdoor brick oven owner. The first step in this process is to remove ash and residue after each use. Accumulated ash can restrict airflow and impact the oven's heating efficiency. A simple wire brush works effectively to scrape the interior surface, while a small shovel can help collect and dispose of ash.
It's advisable to conduct a more thorough cleaning periodically, perhaps at the end of each season. This involves clearing away any soot buildup on the oven dome and ensuring that the flue remains clear. Using a damp cloth can aid in removing stubborn residue. Furthermore, readiness to clean any spills or food particles from the exterior promptly helps maintain an appealing look and prevents staining.
Inspecting for Damage
Routine inspections play a vital role in determining the longevity of your brick oven. After heavy use or exposure to harsh weather, checking the structure for cracks or chips is recommended. Small fissures can develop over time, and early detection allows for timely repairs, preventing more significant issues later on.
Look closely at the joints between bricks. Any signs of loose mortar should be addressed immediately. A simple repair can usually be made using refractory mortar. If significant structural damage is found, it might be wise to consult with a professional who specializes in oven restoration. Regular vigilance in inspecting your brick oven will safeguard your investment and ensure reliable performance for years.
Seasonal Maintenance Tips
Each season brings different weather conditions that can affect your outdoor brick oven. As winter approaches, it’s wise to take precautions to protect the oven from freezing temperatures and moisture. Covering the oven with a waterproof tarp can shield it from snow and rain.
In spring, perform a thorough check to remove any debris accumulated during winter. Assess the external structure for wear and tear caused by various weather elements. If necessary, touch up the external surface with appropriate sealants.
Summer usage might require more frequent cleaning due to increased cooking frequency. Plan for periodic inspections, especially after using the oven for more extended durations. It’s also important to remember that hydration is vital; baking during dry spells can lead to cracking, so consider firing the oven regularly to maintain moisture levels.
"A well-maintained outdoor brick oven will reward you with superior cooking experiences, enhancing your gatherings with friends and family."
Integrating the Oven into Outdoor Spaces
Building an outdoor brick oven involves careful consideration not just of its structure but also how it will fit within the entire outdoor environment. Integrating an oven effectively into outdoor spaces enhances both functionality and aesthetics. It is essential to create an area that invites social interaction while also providing a practical cooking space.
When planning the integration, consider the following aspects:
- Functionality: Ensure that the oven is usable and accessible, providing an efficient cooking experience.
- Aesthetic Appeal: The style of the oven should complement the existing landscape and architectural features.
- Safety and Practicality: Placement must take into account factors such as proximity to combustibles and ease of use, ensuring a safe cooking environment.
Ultimately, a well-integrated outdoor oven enhances gatherings and culinary exploration, enriching the outdoor experience for both the cook and their guests.
Design Aesthetics in Outdoor Areas
The design of the outdoor brick oven should not be an afterthought. It can serve as a focal point in your outdoor area, blending with the overall theme of the space. Choosing the right materials and finishes will play a significant role in achieving this harmony.
Material Choices:
- Natural stone or clay bricks can provide an organic look that blends with garden elements.
- Modern finishes like stucco or metal can give a contemporary edge, appealing to modern aesthetics.
Color Schemes:
Consider choosing colors that will either compliment or contrast with existing outdoor furniture or plant life.
Architectural Style:
The oven’s design can reflect various architectural styles, such as rustic, Mediterranean, or minimalist. Aligning your design choices with your personal taste and property style can enhance value and appeal.
Creating a Social Space Around the Oven
An outdoor brick oven is more than just a cooking appliance; it fosters social interaction and brings people together. Creating a social space around the oven can significantly enhance the overall cooking and dining experience.
Seating Arrangements:
- Patios or Stone Seating: Setting up a patio area with stone seating encourages conversation and makes for a comfortable environment.
- Picnic Tables: A traditional picnic table can offer both a dining and preparation area close to the oven.
Lighting:
Proper lighting around the oven can extend the usability into the evening, creating a warm atmosphere for gatherings. Consider utilizing ambient string lights or built-in fixtures.
Landscaping:
Thoughtful landscaping can create a harmonious flow between the oven and surrounding elements. Incorporating pathways, vegetation, or even decorative elements can enhance overall enjoyment and function.


